|
|
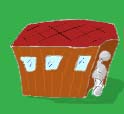
We shall - in this case - take a rather boring picture and see if we manage to make it more exciting, by making the impression we've taken several photos and put together to make a whole picture. The picture would otherwise be archived in the trusty trashcan due to its esthetic qualities.

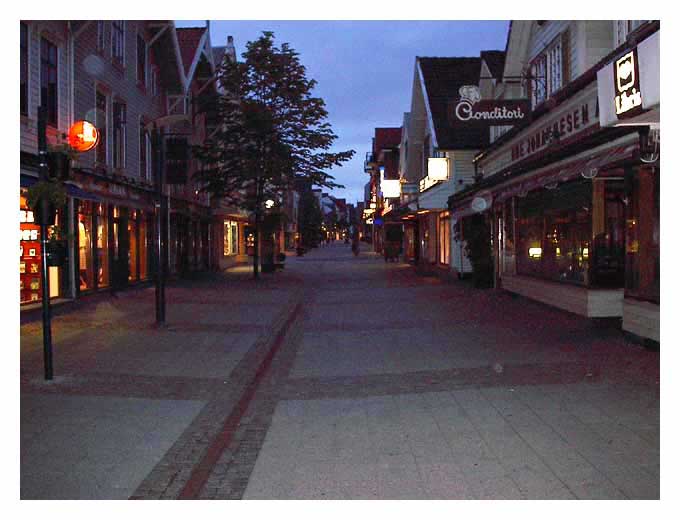
The is our starting point, a picture taken a late evening. Since our goal is to make the impression the picture is made up from several small pictures, we have to slice it up. Use the Marquee Tool from the toolbox and select a nice piece, then use Edit > Copy (Ctrl-C) followed by Edit > Paste (Ctrl-V) to paste the piece in a new layer. Alternatively (and simpler) choose Layer > New > Layer via Copy (Ctrl-J) for the same result.
In the layer palette, choose the background layer, select a new area and repeat the same operations until you've covered the whole picture. Make sure the selections overlap.
In front of each layer, there is an icon of an eye. If you click this, the layer turns invisible. This way, you can check if the pieces you've cut covers the whole picture, by clicking the eye in front of the background layer. If they don't cover everything, you'll see a 'hole' in the picture.
Why is is so important that the pieces overlap, and why do we need to avoid holes in the picture? Only because that's what I imagined would be the effect we're after this time. So if your pieces are cut edges to edges, or even creates holes, there's no crisis - all it means is that the effect will be slightly different. However, if you think a piece is too small, click the layer and drag it to the trash canin the layer palette, then make a new piece as usual. If a piece is too large, select the part you want to cut off (with the Marquee) and press Delete on the keyboard.
Our next task is to make the canvas larger, so that we get a frame around our picture. Choose Image > Canvas size, and you get the following window:
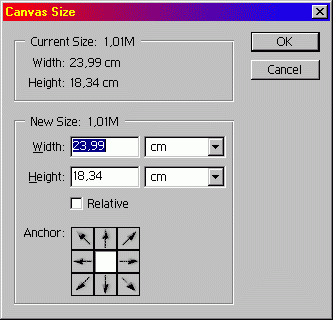
Enter the new width and height so that you get a nice margin - it can be larger than you need. The margin will get the same colour as you've chosen as background in the toolbox.
We don't need the original picture in the background layer anymore - it just use our memory. While the background layer is active (there is a brush icon in front of it) choose Edit > Fill and fill the whole layer with a colour.
Here we've got the picture with a white frame - but apart from that it looks just as boring as when we started. Don't despair, though - you haven't done all that work for no use: Now the fun starts.
![]()
![]()